How to Print Receipts from Any Device
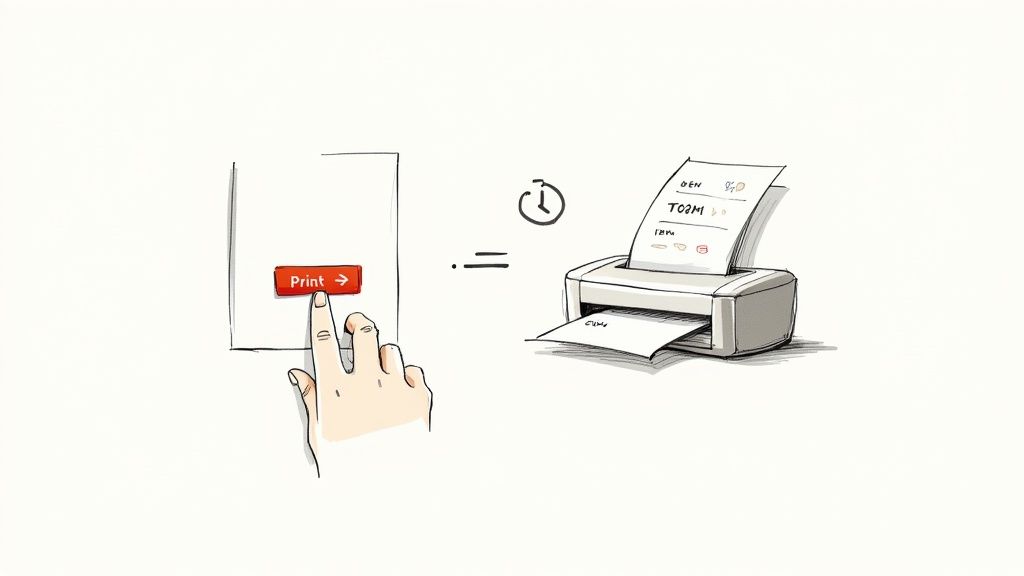
Printing a receipt is usually pretty simple. Most of the time, you can just use your browser's built-in print function (Ctrl+P on Windows or Cmd+P on a Mac) or your phone's share menu. The trick is making sure your device is actually connected to a printer and that the settings match the paper you're using.
Your Quick Guide to Printing Receipts
Whether you're a freelancer tracking expenses, a small business owner giving customers proof of purchase, or just trying to keep your personal finances in order, knowing how to print receipts is a must. A physical copy is your best friend for tax season, warranty claims, or making a return.
The good news? It doesn't have to be a headache. You've got plenty of options to get a hard copy, from printing straight from your web browser to using a specialized thermal printer at a checkout counter.
And if you need to create a receipt from scratch? A tool like ReceiptMake gives you a quick, professional-looking solution. You can browse through a whole library of professional receipt templates to find one that fits, whether it's for a simple Cash Sale Receipt or a detailed service invoice.
Why The Right Printing Method Matters
The best way to print a receipt really just depends on what you’re doing. A busy retail shop needs a fast, tough thermal printer that can spit out receipts all day. An independent contractor, on the other hand, might just need to print a PDF from their laptop once in a while. Picking the right approach saves you time and makes sure the final copy looks clean and legible.
This need for reliable proof of transaction is a big deal. The global market for POS receipt printers was valued at around $4.83 billion in 2025 and is expected to shoot up to $13.84 billion by 2035. This just goes to show how vital printed receipts still are in business, especially in retail and hospitality.
Key Takeaway: For serious financial record-keeping, having a printed receipt is non-negotiable. It’s the tangible proof of a transaction that a digital file can't always provide, which is critical if you're ever dealing with a dispute or an audit.
Before we get into the nitty-gritty, how do you know which method to use? This little table breaks down the common options to help you find the right fit for your situation.
Printing Methods at a Glance
| Printing Method | Best For | Key Requirement | Difficulty Level |
|---|---|---|---|
| Browser Printing | Email receipts, online orders | Desktop/Laptop, standard printer | Easy |
| Save as PDF | Digital archiving, future printing | Any device with a web browser | Easy |
| Mobile Printing | On-the-go needs, field work | Smartphone, wireless printer | Easy |
| Thermal Printing | Retail, restaurants, high volume | Specialized receipt printer | Intermediate |
This should give you a good starting point. Now, let's walk through the specific steps for each of these scenarios.
Printing Receipts from a Desktop or Laptop
When it comes to printing receipts, doing it from a desktop or laptop computer gives you the most control. Whether you're at home sorting out personal expenses or in an office managing business records, this is the best way to get a clean, professional-looking document.
The process itself is usually pretty straightforward, but knowing a few simple tricks can make a world of difference. You might be printing from an email, a website, or a custom-built receipt, and each one has its own little quirks. Let's walk through the most common scenarios you'll run into.
Printing Directly from Your Email
Most of your receipts from online shopping or service confirmations will land right in your inbox. Getting a hard copy is typically just a few clicks away, but finding that "Print" button can be slightly different depending on whether you're using Gmail, Outlook, or something else.
In Gmail:
- First, open the email that has the receipt.
- Find the three-dot menu icon (the "More" button) in the top-right corner of that specific email.
- Click it and just select "Print" from the menu. Your browser’s print preview will pop right up.
In the Outlook Web App:
- Open the email with the receipt you need.
- Just like in Gmail, look for the three-dot menu at the top-right of the email window.
- Choose "Print" from the options. This usually opens a new, clean window with just the email content, ready for you to send to your printer.
This method is perfect for quick, one-off prints. It's fast, efficient, and gets you a physical copy for your files in seconds.
From a Website or Customer Portal
After paying a bill or buying something online, you’ll often find your receipt on a confirmation page or tucked away in a customer portal. These are meant to be printed, but sometimes website clutter like navigation menus, ads, and sidebars can sneak onto your printout.
Your best friend here is the universal keyboard shortcut: Ctrl+P on a Windows machine or Cmd+P on a Mac. This command works in any browser—Chrome, Firefox, Safari, you name it—and instantly brings up the print preview screen.
My Go-To Tip: Before you hit that final "Print" button, always use the "Save as PDF" option in the printer destination dropdown. This creates a perfect digital copy of the receipt. You'll have a clean, unchangeable file for your digital records that you can print anytime, without worrying about the original webpage being taken down.
Creating and Printing a Custom Receipt
What if you don't have a receipt and need to make one? This is a common situation for freelancers, small business owners, or even just for documenting a cash sale. This is where a dedicated tool really shines.
Let's say you just finished a freelance job and need to create a proper receipt. You can use our powerful online receipt generator to build one from scratch. The live preview shows you exactly what it will look like as you add your details.
Once you’ve filled everything in—your logo, the itemized services, payment info—you’ll use your browser's built-in print function to get your hard copy. The print preview window gives you some critical options for getting it just right:
- Destination: Make sure your physical printer is selected, or choose "Save as PDF" if you want a digital version first.
- Scale: If your receipt looks like it's getting cut off, try adjusting the scale. The "Fit to printable area" setting usually works wonders, but manually setting it to 90% is another great fix.
- Margins: I usually stick with "Default" or "Minimum" margins. This gives your content more room on the page and helps prevent anything important from being clipped.
- Headers and Footers: This one is a big deal. Always make sure the "Headers and footers" box is unchecked. This gets rid of the ugly URL, date, and page numbers that browsers automatically add, leaving you with a clean, professional document.
Taking just a moment to tweak these settings ensures your custom receipt looks polished and professional, without any distracting browser junk. That level of control is exactly why printing from a desktop is often the best way to go.
Using Thermal and Specialized Receipt Printers
If you're running a business with a physical checkout—a coffee shop, retail store, or a busy restaurant—a standard office printer just isn't going to work. It’s too slow, the ink is too expensive, and it’s just not built for the job.
This is where thermal printers shine. They are the absolute workhorses of the point-of-sale world, built to do one thing exceptionally well: print receipts quickly, cleanly, and reliably, hundreds of times a day.
Instead of ink or toner, thermal printers use a heated printhead to create an image directly on special heat-sensitive paper. The process is nearly silent and incredibly fast. Better yet, there are no cartridges to replace, which means less maintenance and one less thing to stress about during a lunch rush.
Often, the journey from a digital record to a physical receipt follows a pretty straightforward path, especially if you're starting with an email or a web page.
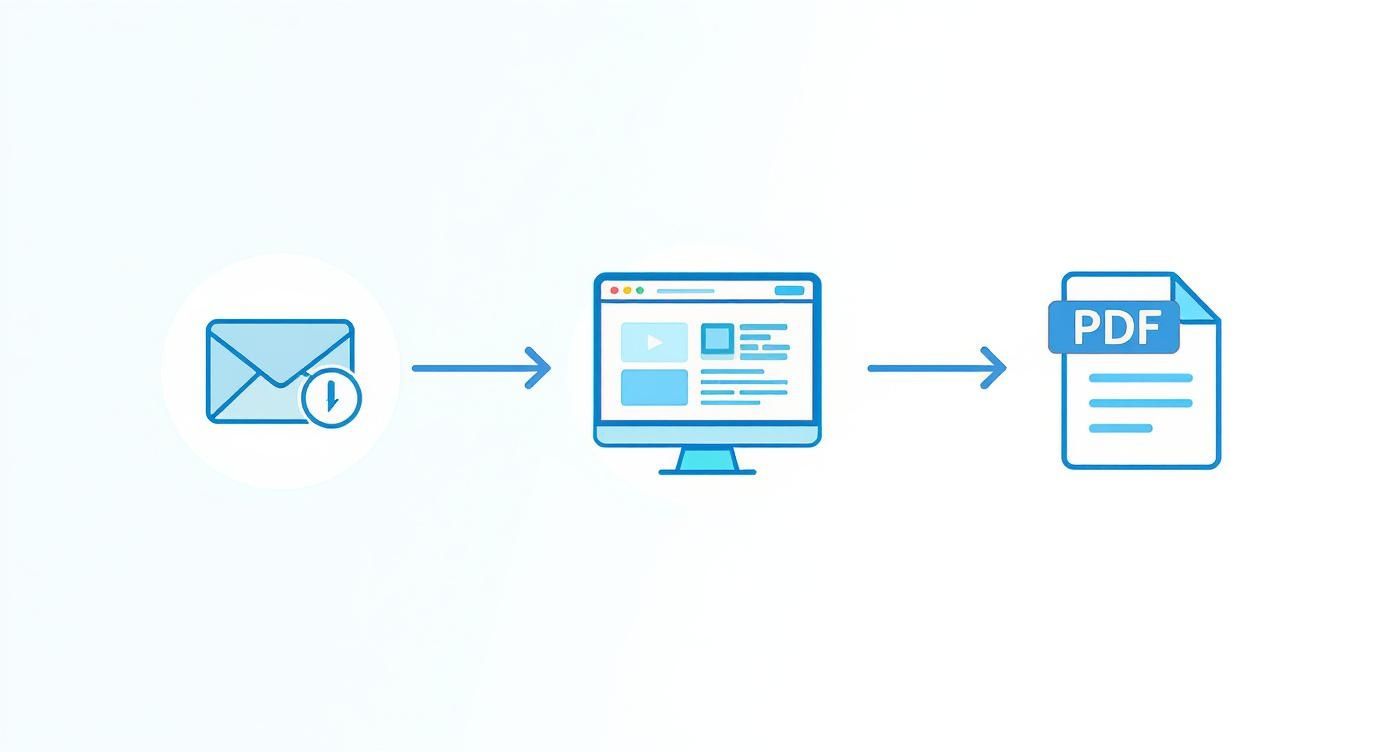
As you can see, converting a receipt to a PDF first is often the best move. It locks in the formatting, so what you see on the screen is exactly what you get on paper.
Connecting and Configuring Your Printer
Getting your thermal printer set up and talking to your computer is the first hurdle. Most modern printers give you a few options, so you can pick what works best for your space.
- USB Connection: This is the old reliable. You plug the printer straight into a USB port on your computer or POS terminal. It’s a simple, plug-and-play setup that's perfect for a fixed checkout counter.
- Ethernet Connection: Need to share the printer across a network? Use an Ethernet cable. Just plug the printer into your router, and any computer on the network can send jobs to it. This is a lifesaver in restaurant kitchens or large retail shops where multiple stations need to print.
- Bluetooth Connection: For a clean, wireless setup, Bluetooth is the answer. It pairs directly with your tablet, computer, or smartphone, which is ideal for food trucks, pop-up shops, or servers taking orders tableside.
Once it's plugged in, you have to install the right drivers. A driver is just a small piece of software that lets your computer (Windows or macOS) communicate properly with the printer. You can almost always find the latest version on the manufacturer's website. Trust me, don't skip this step. A lot of printing headaches start with a missing or outdated driver.
Dialing In Your System and Browser Settings
With the drivers installed, the next step is to tell your computer how to format prints for the small, narrow paper your printer uses. The most critical setting here is paper size.
Thermal receipt paper generally comes in two standard widths: 80mm (about 3.15 inches) or 58mm (about 2.28 inches). You’ll need to dive into your computer’s "Printers & Scanners" settings and create a custom paper size that matches your roll. This tells the system how to scale the content so it doesn't get awkwardly cut off.
When you're ready to print from your browser, the print dialog box (Ctrl+P or Cmd+P) is your final control panel. This is where you fine-tune the output for that perfect, professional look.
The secret to a perfect thermal receipt from a browser is to override its default settings. You need to strip away all the extra junk—margins, headers, and footers—that aren't part of the receipt itself.
Here are the key adjustments to make in the print preview window:
- Set Margins to 'None': This is the big one. Default browser margins add blank space around the edges, which shrinks your content and wastes paper. Setting margins to "None" ensures your receipt uses the full width of the roll.
- Turn Off Headers and Footers: Find the "Headers and footers" checkbox and uncheck it. This stops the browser from printing the page title, URL, and date at the top and bottom of your receipt, keeping it clean.
- Adjust the Scale: If the text still seems a bit too large or is wrapping in weird places, try tweaking the scale. Dropping it to 95% or 90% often helps everything snap into place perfectly without looking squished.
When you're creating a receipt on the fly, maybe using a Generic POS Receipt template, getting these settings right is what separates a sloppy, unprofessional printout from one that looks like it came from a high-end system.
Troubleshooting Common Printing Problems
Even with a perfect setup, you’ll occasionally run into glitches. Don't panic—most are easy to fix.
- Text is too large or cut off: Nine times out of ten, this is a margin or paper size problem. Go back and double-check that your margins are set to "None" in the browser and that the custom paper size in your system settings perfectly matches the paper roll in the printer.
- The printer spits out a long blank tail: This usually happens when the software doesn't know where the receipt ends. It's often a driver issue or a specific setting in your POS software. Make sure your drivers are current and look for a setting like "paper cut" or "end of document" to enable.
- The print looks faded or has gaps: This points to a dirty thermal printhead. The fix is usually simple: gently clean it with an isopropyl alcohol wipe. If that doesn't help, the printhead might be worn out and need replacing.
Taking a few minutes to configure your printer correctly from the start will save you a ton of frustration and ensure every receipt you hand to a customer is crisp, professional, and easy to read.
How to Print Receipts from a Mobile Device
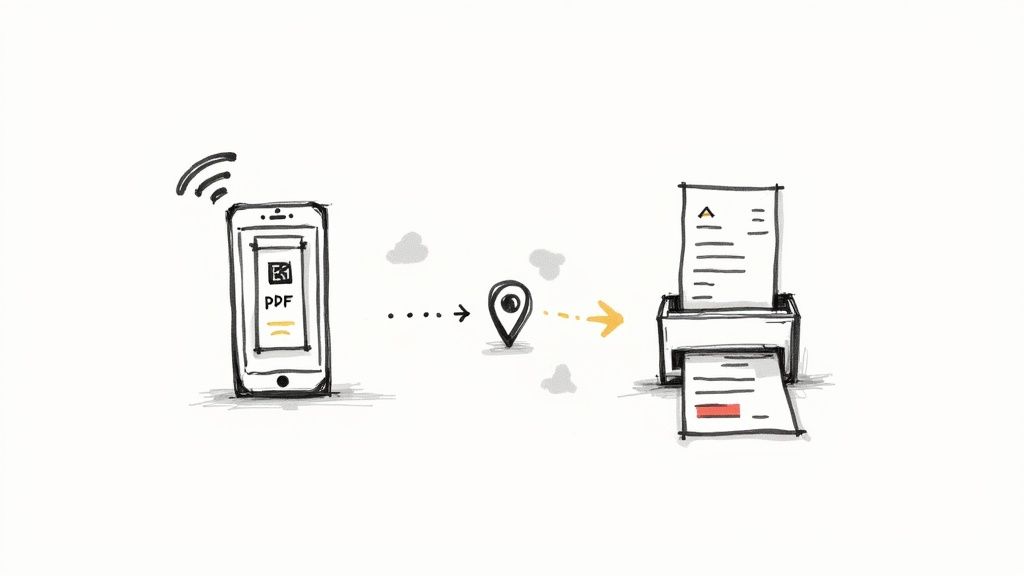
Let's face it, business happens everywhere these days—a client's office, a local coffee shop, you name it. Your phone is your command center, so printing a receipt directly from it isn't just a neat trick; it's a modern necessity. The good news is that both iOS and Android have made it incredibly simple to go from a digital file to a physical copy in just a few taps.
The real key to mobile printing is getting your phone and the printer talking to each other. Most modern printers are wireless, which makes this a whole lot easier than fumbling with cables.
Connecting Your Phone to a Printer
Before you can print, you need to get your devices paired up. This is usually a one-time setup, and after that, your phone will remember the printer for the next time you need it.
Here are the most common ways to get connected:
- Wi-Fi Printing: This is the go-to method for most home and office printers. As long as your phone and the printer are on the same Wi-Fi network, your phone should find it automatically. No special apps are needed; the function is built right into the operating system.
- AirPrint (for iOS devices): If you're using an iPhone or iPad, AirPrint is your best friend. It’s Apple’s technology for printing seamlessly to compatible printers without installing any drivers. Just hit the "Share" icon, tap "Print," and pick your printer from the list. It’s that easy.
- Bluetooth Printing: This is perfect for those small, portable thermal printers you see in the field. You pair it with your phone just like you would a pair of headphones. It’s a direct connection, so you don't need a Wi-Fi network, making it ideal for mobile point-of-sale situations.
Once you’re connected, you're ready to print from pretty much any app on your phone.
Printing From Common Mobile Apps
The actual printing process is surprisingly consistent across different apps. The magic usually starts with the "Share" button—that familiar icon with a box and an upward arrow on iOS or three connected dots on Android.
Let's say you just got an email confirmation for a business purchase. To print it, you’d open the email, tap the menu or share icon, and find the "Print" option. Your phone will then show you a print preview where you can select your printer and tweak a few basic settings before sending the job. The same logic works for printing a PDF from your files app or a webpage from your mobile browser.
Here’s a real-world example: Imagine you're a landlord meeting a tenant to collect rent. You can pull up ReceiptMake.com on your phone's browser, use a simple Rent Receipt template, fill in the details, and print it directly to a portable Bluetooth printer in your bag. The tenant gets a professional, physical copy on the spot.
This kind of on-the-go printing is what makes mobile devices such a powerful business tool.
Tips for Smooth Mobile Printing
Mobile printing is usually straightforward, but a few quick tips can help you sidestep common headaches and make sure your receipts look professional every time.
First, always check the print preview. Mobile previews can sometimes hide issues you'd see on a desktop. Make sure no text is getting cut off and that everything is scaled correctly for your paper size.
If your phone can't find the printer, the first step is always to confirm that both devices are on the same Wi-Fi network. If they are and it's still not connecting, a quick restart of both your phone and the printer often fixes the issue. It's the oldest trick in the IT book for a reason.
Finally, for more control or if your printer isn't supported out of the box, grab the manufacturer’s official app. Brands like HP, Canon, and Epson have apps that give you desktop-level control over print quality and paper type right from your phone. When you're printing a quick Gas Receipt for an expense report, those extra settings can be a lifesaver.
Best Practices for Printing Receipts Like a Pro
Anyone can hit "print," but doing it right? That's what separates the pros from the amateurs. It’s about creating receipts that are professional, easy to organize, and don't waste resources. Think of it as printing with a purpose—whether it’s for a client or your own tax records.
These simple habits will ensure every receipt you print is clear, professional, and easy to find when you need it most.
Nail the Professional Look
Let's be honest, the way your receipt looks matters. A clean, well-formatted receipt builds trust and makes your business look sharp. A messy, hard-to-read one does the opposite. Clarity and consistency are everything.
Before you print anything, give it a quick once-over for these three things:
- A Crisp Logo: Your logo should be high-resolution. Nothing screams "unprofessional" faster than a blurry, pixelated image right at the top.
- Readable Text: Stick to a clean, standard font. From your business address to the line items, everything should be easy to read at a glance.
- Clear Totals: This is the most important part. Make sure the subtotal, taxes, and final total are clearly separated and labeled. No one wants to hunt for the final number.
If you're using a tool like ReceiptMake, the templates are designed to handle this for you. A good Service Receipt, for instance, already has separate sections for labor and parts, which helps eliminate any confusion right from the start.
Get Organized for Easy Record-Keeping
A printed receipt is only useful if you can actually find it later. A little bit of organization goes a long way, especially when you’re dealing with taxes, expense reports, or the dreaded audit. The trick is to have a simple system for both your paper and digital copies.
My Two Cents: Don't let receipts pile up. The "one-touch" rule is a lifesaver. The second you print or save a receipt, file it. Put it in the right folder or save it to the right digital directory. It’s a five-second habit that will save you hours of frantic searching down the road.
For your digital files, a consistent naming convention is your best friend. I personally use something like YYYY-MM-DD_Vendor_Amount.pdf. It makes searching for a specific transaction a breeze. Stash them in a cloud service like Google Drive or Dropbox so you can access them from anywhere.
Print Smarter, Not Harder
How you print has a real impact on your wallet and the planet. Offering digital receipts is a fantastic start, but even when you need a physical copy, you can still be smart about it.
Did you know that producing paper receipts in the U.S. each year uses up about 10 million trees, 250 million gallons of oil, and 1 billion gallons of water? It also creates a staggering 1.5 billion pounds of waste. If you want to dive deeper into those numbers, you can read the full research about receipt paper consumption.
Here’s how you can cut down on waste and cost:
- Go Digital First: Always ask customers if they'd prefer an emailed or texted receipt. You'd be surprised how many people prefer it.
- Make "Save as PDF" a Reflex: Before you print, save it as a PDF. This gives you a perfect digital original for your own records and for sending to clients.
- Tweak Your Printer Settings: For any internal copies, switch to your printer's "draft" or "eco" mode. It uses way less ink or toner. You can also print two smaller receipts on a single page to save paper.
When you use tools that generate polished documents like a clean Donation Receipt or a standard Hotel Receipt, it’s even easier to go paperless. You can create a perfect PDF and email it directly, skipping the printer altogether.
Got Printing Questions? We've Got Answers.
Even with the best tools, sometimes printing a receipt just doesn't go as planned. Whether it's a quirky setting on your thermal printer or figuring out the best way to manage a whole stack of documents, you're not alone. Let's walk through some of the most common printing hurdles and get them sorted out.
"Why Does My Thermal Receipt Look All Messed Up When I Print from My Browser?"
I see this one all the time, and it's almost always a simple browser setting getting in the way. When you hit Ctrl+P (or Cmd+P on a Mac) and the print preview pops up, don't just click "Print." Instead, look for a "More settings" or similar link to expand your options.
Two settings are the usual culprits:
- Margins: Find this and set it to 'None'. This tells the printer to use the entire width of the paper, preventing those weird, squished-in-the-middle receipts.
- Headers and footers: Make sure this box is unchecked. Leaving it on is what adds the page title, URL, and date to the top and bottom of your receipt, which looks unprofessional and throws off the formatting.
If you've done both of those and it's still off, double-check that the paper size is set to match your roll (e.g., 80mm).
"Can I Print a Bunch of Receipts at Once?"
Absolutely, and it's a huge time-saver. How you do it just depends on where your receipts are.
If you've already got a folder full of individual PDF receipts, it’s easy. Just select all the files you need, right-click on the batch, and hit 'Print'. Your computer will send them to the printer as one seamless job.
Need to create and print a batch from scratch? A perfect example is making several receipts for a recurring service. You can quickly generate each one using a template like this Generic Sales Receipt, save them all as PDFs in a dedicated folder, and then print them all together.
"What's the Best Way to Save a Digital Copy for My Records?"
Hands down, save it as a PDF. It’s the universal standard for a reason. Every modern browser and operating system has a 'Save as PDF' or 'Print to PDF' option right there in the print menu.
Think of a PDF as a perfect digital photocopy. It locks in the layout, fonts, and images, so it looks identical no matter who opens it, on what device, or how many years from now. It’s the most reliable format for archiving, emailing, or printing later without any formatting surprises.
This keeps your records looking professional and, just as importantly, prevents them from being altered. It's the right move for everything from a simple Cash Sale Receipt to a detailed invoice.
"How Do I Print a Small Receipt on a Full Sheet of A4 or Letter Paper?"
This is just a quick tweak in the print settings. When that print preview window appears, look for the 'Paper size' dropdown menu. Simply select 'Letter' or 'A4' depending on what you have loaded.
You can also play with the 'Scale' setting to get it looking just right. An option like 'Fit to page' works well to make sure nothing gets cut off. For a smaller receipt, like one for Parking, you might want to manually set the scale to something like 150% to make it larger and easier to read on the full page.
Even as we move toward digital-first workflows, the need for physical receipts isn't going anywhere. In fact, the global receipt printers market is expected to jump from USD 4.54 billion in 2025 to USD 7.82 billion by 2032. This shows just how vital printed records remain in retail, hospitality, and beyond. You can explore more insights on the receipt printer market here.
Ready to create perfect receipts in just a few clicks? With ReceiptMake, you get access to over 100 professional templates. Customize your details, get an instant preview, and download a print-ready PDF—no sign-up required. Try our free online receipt generator today and see how simple your record-keeping can be. Visit us at https://receiptmake.com.

