How to Create a Receipt Online in Seconds for Free
Learning how to create a receipt online is surprisingly simple: pick a template, fill in the details, and download it. With free tools like https://receiptmake.com/, the whole thing takes just seconds. It’s a small change that instantly modernizes your business, saving you time and headaches.
Why Creating Receipts Online Is a Smart Business Move
Moving from stacks of paper receipts to a clean digital system is more than just a convenience. For any freelancer or small business owner, it's a strategic upgrade that starts paying off right away.
Remember the old way? Buying carbon-copy receipt books, scribbling down details by hand, and hoping you don't lose that tiny slip of paper. It’s slow, messy, and a recipe for errors.
Now, imagine creating a perfect, professional receipt in seconds from your laptop or phone. This single switch makes your record-keeping a breeze and gets you ready for tax season with zero extra effort.
Save Money and Time Instantly
Let's talk numbers. Traditional paper receipts can cost a business anywhere from $0.05 to $0.10 per receipt when you factor in printing and storage. A digital approach cuts that cost to practically zero and fits right into modern expense tracking.
This isn't just about saving pennies, either. It’s about reclaiming your time. Instead of getting bogged down in administrative busywork, you can focus on what actually moves the needle—talking to customers, improving your services, or building your next big thing. Using a dedicated free receipt generator that does the math for you is a game-changer here.
Elevate Your Professional Image
A clean, branded digital receipt speaks volumes. It tells your clients that you're organized, modern, and serious about your business. It’s a small touch that builds trust and reinforces your brand with every single sale. A polished look can genuinely influence how customers see you, which often leads to repeat business and great word-of-mouth.
The world is going paperless, and receipts are no exception. The digital receipts market is on a tear, projected to jump from $1.73 billion to a staggering $7.86 billion by 2034. This explosion is fueled by e-commerce and a collective push for sustainability.
Simplify Your Financial Reporting
Good financial management starts with good records. When your receipts are digital and organized, bookkeeping stops being a chore. You have accurate data right when you need it.
Plus, keeping precise digital records is crucial for putting together an accurate profit and loss statement, which gives you a clear picture of your business's financial health. With everything stored neatly online, you can track income, manage expenses, and head into tax season with confidence.
Choosing the Right Receipt Template for Any Scenario
The first step to creating a professional receipt isn't filling out fields—it's picking the right foundation. A generic, one-size-fits-all receipt can look unprofessional and often misses key details your customers (and your accountant) need.
Think about it from your customer's perspective. The receipt you give them should make perfect sense for the transaction. A freelance designer needs a different layout than a corner coffee shop, and using the right template shows a level of professionalism that builds trust right from the start.
This decision tree pretty much sums it up: you can stick with messy paper trails or move to a smarter, streamlined online method. The choice is clear.
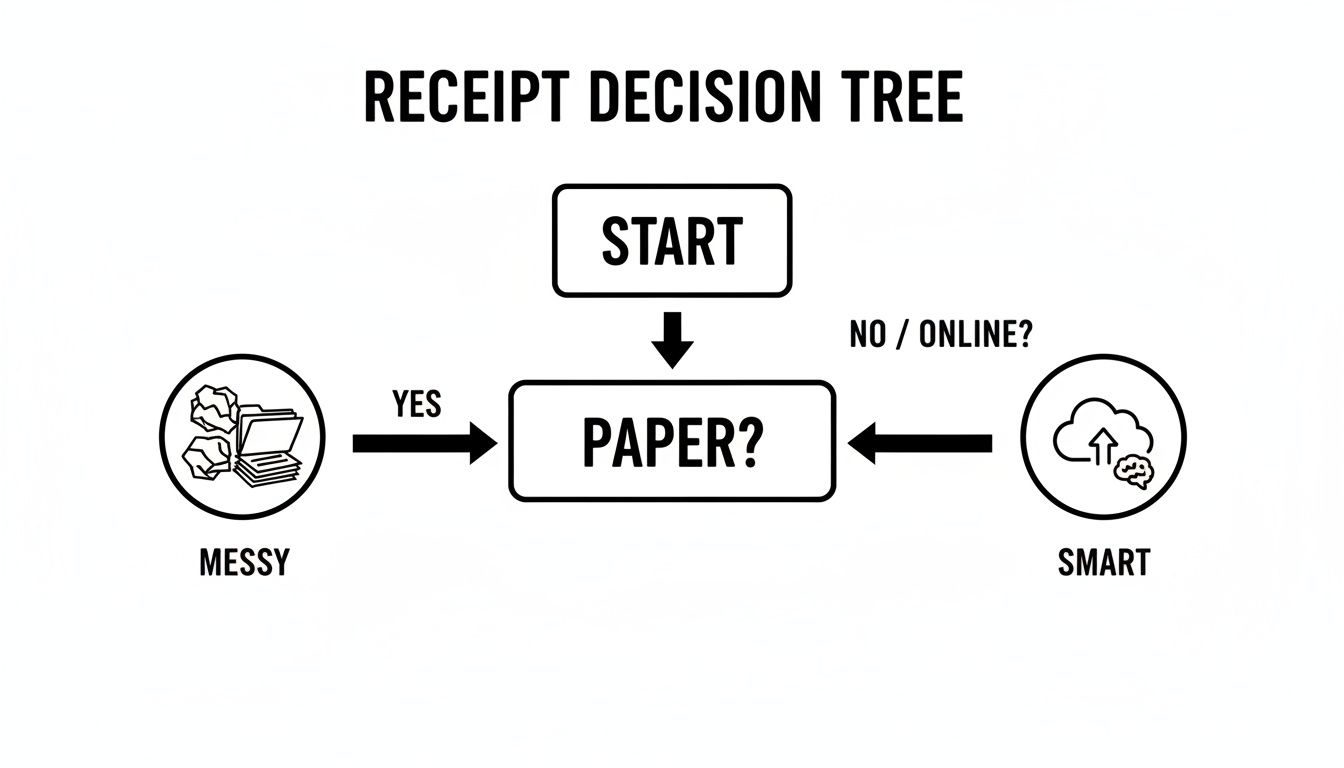
Let's be honest, disorganized paper receipts are a headache waiting to happen. An online system just makes your life—and your business operations—so much easier.
Matching Templates to Common Business Needs
Let’s get practical. Imagine you run a busy cafe. Your receipt needs to show an itemized list of every latte and pastry, a clear subtotal, sales tax, and—most importantly—a spot for a tip. For that, you’d want a dedicated Cafe Receipt Template that’s built for exactly this scenario.
Now, contrast that with a simple fuel purchase. All you really need is the date, gallons sold, price per gallon, and the total. A clean and straightforward Gas Receipt Template gets the job done without any unnecessary clutter.
Pro Tip: Always think ahead. A good receipt anticipates what your customer needs for their own records. It should answer questions before they even have to ask, which helps prevent confusion or disputes down the road.
If you're a freelance web developer billing for a project, a standard retail stub won't cut it. You need space to detail the services you provided, your hourly rate, and payment terms. A professional Service Receipt Template is perfect for this, giving you the room to be specific.
Which Receipt Template Should You Use?
To make it even easier, here’s a quick guide to help you pick the perfect template based on what you do.
| Business Type | Recommended Template | Key Features |
|---|---|---|
| Retail Store | Retail Receipt Template | Itemized list, tax/discount lines, payment method |
| Restaurant/Cafe | Cafe Receipt Template | Itemization, tax, tip line, order number |
| Freelancer/Consultant | Service Receipt Template | Detailed service descriptions, hourly rates, payment terms |
| Gas Station | Gas Receipt Template | Gallons, price per gallon, fuel type, total amount |
| Hotel/Lodging | Hotel Receipt Template | Room rate, taxes, additional charges, check-in/out dates |
This table should point you in the right direction, but always feel free to explore the options to find the one that feels right for your specific needs.
Key Features to Look For
As you browse different templates, keep an eye out for these essential features:
- Plenty of Space for Details: Can you easily list and describe each item or service? This is a must-have for retail, restaurants, and freelance projects. A good Restaurant Receipt Template always has this.
- Clear Tax and Discount Fields: The template should have dedicated lines for taxes and discounts, so your final total is transparent and easy to understand.
- Payment Method Info: A great receipt clearly shows how the customer paid—whether it was cash, credit card, or a digital wallet.
- Flexible Options: Look for templates that let you add a signature line, a tip field, or a small section for your return policy or terms of service.
Taking a few moments to choose the right template makes a huge difference. You're not just creating a proof of purchase; you're providing a clear, professional document that makes the entire transaction feel smooth and trustworthy.
Adding Your Business and Customer Information
Alright, you've picked a template that looks sharp. Now it's time to add the nuts and bolts—the information that makes this piece of paper an official receipt. This is where you establish who paid for what and who got paid.
Getting these details right isn't just about looking professional; it's a critical part of your record-keeping. For small businesses and freelancers, a clear, accurate receipt can prevent future headaches, answer customer questions before they're asked, and build a solid foundation of trust.
Start With Your Business Details
First things first, let's put your information on the receipt. This is how you brand the document and make it clear who the customer did business with. In the ReceiptMake editor, you'll see straightforward fields for your business name, address, phone number, and email.
Don't rush through this part. Double-check that your business name is spelled exactly as it appears on your official documents. A typo in your email or a wrong digit in your phone number can make you seem careless and cause real frustration for a customer trying to reach you later. A clean Generic Receipt Template is a great choice here, as it really highlights your business info.
Crucial Tip: Never skip the receipt number. It’s your best friend for organization. Whether you let the tool generate one or use your own system, a unique number makes it a breeze to find a specific transaction for returns, tax questions, or any other follow-up.
Add the Customer and Transaction Specifics
Next up is the customer's information. While you might not need a customer's name for a quick cash sale, it's a fantastic habit to get into, especially for B2B work, freelance projects, or significant purchases. It personalizes the receipt and gives both of you a much stronger record of the transaction.
You'll also add the date. This one is non-negotiable. The transaction date is essential for proper accounting, as it locks in when the revenue was earned. This simple detail keeps your books clean and makes financial reporting so much easier down the line.
- Receipt Number: Think of this as the transaction's unique fingerprint (e.g., #00123). It's your key to tracking every sale.
- Transaction Date: The exact date the payment was made. This is a must-have for bookkeeping.
- Customer Name/Business: Clearly identifies the buyer. A flexible Blank Receipt Template gives you plenty of room for this.
Why This Information Is So Important
Every field you fill in makes your financial records stronger. For freelancers and small business owners, these receipts are your proof of income. This becomes even more critical with evolving tax rules, like the updated Form 1099-K reporting thresholds that demand meticulous tracking of every dollar earned.
By taking a moment to fill out these details carefully, you're doing more than just creating a slip of paper. You're building a reliable paper trail that will make your accounting simpler, tax season less of a nightmare, and show every customer that you're a true professional.
Nail the Details: Itemizing What You Sold and Calculating the Total
This is where your receipt goes from a simple slip of paper to a professional record. A clear, itemized list of every product or service is the heart of any good receipt. It gives your customer total transparency and gives you the clean data you need for your own books.
But let's be honest, the best part is letting a tool handle the math. Doing calculations by hand is just asking for trouble—small mistakes can hurt your credibility or, worse, cost you money. An automated system makes sure every subtotal, tax, and discount is perfect, every single time.
Break Down the Transaction for Clarity
Let’s run through a quick example. Imagine you’re a freelance graphic designer who just finished up a project. Instead of one vague line item for "Design Services," you should break it down.
Here’s how that might look:
- Logo Design Package: (Includes 3 concepts, 2 revisions) - Qty: 1, Price: $500.00
- Business Card Design & Layout: - Qty: 1, Price: $150.00
- Menu Design (2-page): - Qty: 1, Price: $250.00
See how much clearer that is? This kind of detail shows your client exactly where their money went, justifying the cost and heading off any future questions. A good Invoice Receipt Template gives you plenty of room to spell this out.
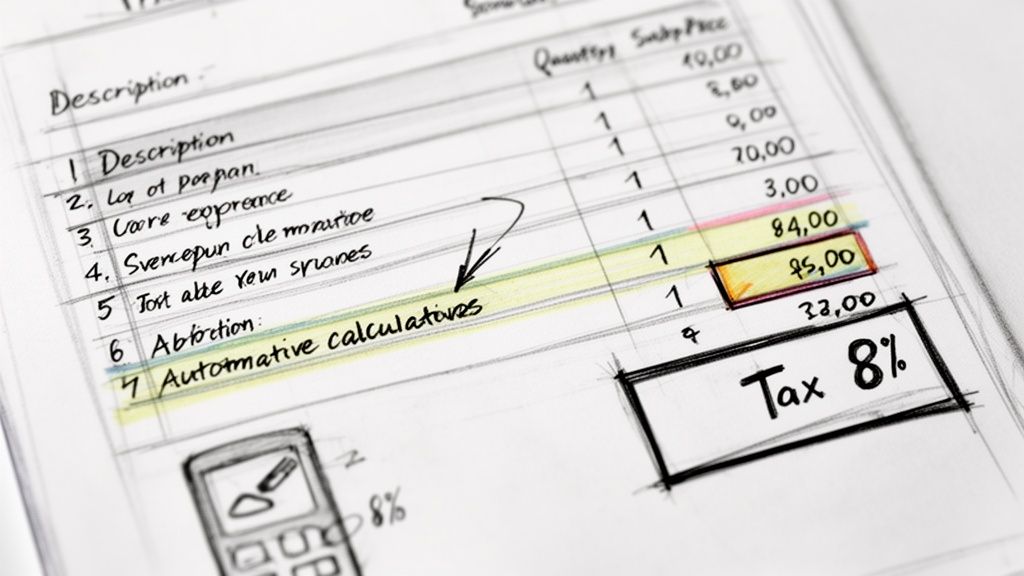
Let the Tool Do the Heavy Lifting (The Math!)
Once you've listed your items, the online receipt maker does the rest. As you enter quantities and prices, it automatically calculates the subtotal. From there, adding taxes or discounts is a breeze.
Let's say you offered a 10% new client discount. You just type in the percentage, and the tool subtracts the correct amount. Need to add a 6% sales tax? It calculates that based on the new subtotal and tacks it on for the final amount.
This is exactly why so many small businesses have moved on from manual methods. Many users find they save 50% of their time on billing, mostly by avoiding the simple math errors that can hold up payments. It doesn't matter if you're a cafe owner using a Restaurant Receipt Template or managing a gas station—the accuracy is a huge weight off your shoulders. You can discover more insights on how accounting tools are changing business.
A tiny mistake in a manual tax calculation can cause big headaches. If you overcharge, you get an unhappy customer. If you undercharge, you're losing profit and creating an accounting mess for tax season. Automation gets rid of that risk completely.
A Quick Retail Example
Now, let's picture a small boutique. A customer is at the counter with a few items, and you need a receipt fast. Using a Sales Receipt Template, your breakdown would instantly look something like this:
| Item Description | Quantity | Unit Price | Total |
|---|---|---|---|
| Wool Scarf | 1 | $45.00 | $45.00 |
| Leather Gloves | 1 | $60.00 | $60.00 |
| Scented Candle | 2 | $18.00 | $36.00 |
| Subtotal | $141.00 | ||
| Sales Tax (8%) | $11.28 | ||
| Total | $152.28 |
Trying to calculate that 8% tax in your head during a busy rush is exactly how mistakes get made. When you create your receipt online, the tool does it for you in a split second, guaranteeing the total is right on the money.
Time to Make It Yours: Adding Your Professional Touch
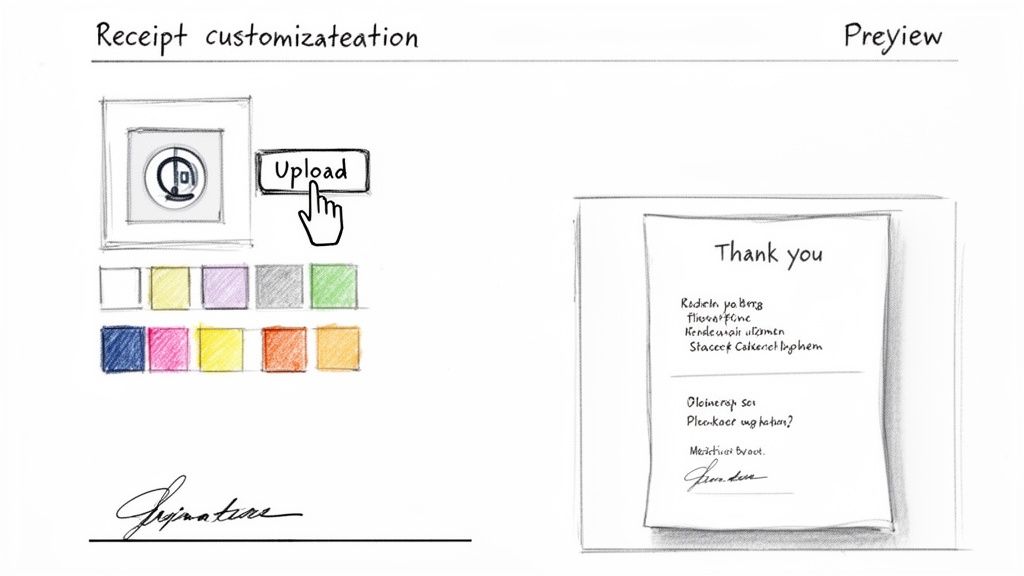
You’ve entered all the line items and crunched the numbers. Now for the fun part—transforming a generic document into something that screams your brand. This is where you go from just recording a transaction to creating a professional touchpoint that reminds customers who you are.
A few small tweaks make a massive difference. The first thing I always do is add a company logo. It’s an instant mark of professionalism that builds trust and makes your receipt immediately recognizable. Then, I’ll play with the color scheme to match my branding. A little consistency goes a long way and makes everything feel cohesive, from your website to your receipts. For anyone handling in-person sales, a branded Cash Receipt Template looks far more legitimate than a generic one.
Fine-Tuning the Details
Beyond the brand visuals, you can add some really practical elements that improve the whole experience. I always recommend adding a personal thank you message; it’s a small thing, but it shows there’s a human on the other side. You can also add a dedicated section for your terms and conditions or return policy, which can save you a lot of headaches later by setting clear expectations.
Depending on your business, you might need a few extra fields. These are often non-negotiable for service-based businesses:
- Tip Line: A must-have for restaurants, cafes, or anyone in the service industry. Don't make it hard for people to show their appreciation!
- Signature Field: This is great for adding a layer of formal agreement. It works perfectly for confirming services were completed or that goods were received in good condition.
- Notes Section: This is your catch-all space for warranty info, special instructions, or any other important disclaimers.
These little options make sure your receipt does more than just state a price—it communicates crucial information clearly and protects your business.
With global e-commerce sales now over $6.42 trillion, digital tools are more important than ever. It's not just about efficiency; custom messages and clean digital receipts build trust, which is key when 65% of consumers prefer them. Plus, automating this process helps businesses cut costly manual error rates from a staggering 12% down to under 2%. Learn more about how online tools boost business productivity.
Give It a Final Look, Then Send It Off
Before you hit send, always use the live preview. It shows you exactly what your client will see, giving you a chance to catch any typos or make last-minute tweaks. It's a simple gut check that ensures everything looks perfect. A quick glance at a Parking Receipt Template, for example, can confirm the date, time, and vehicle details are spot-on before you finalize it.
Once you’re happy with it, you can download a clean, high-quality PDF. This format is the industry standard—it’s professional, easy to print, and simple to email or file away for your own records.
And here’s something that gives me real peace of mind: your data is yours alone. Everything you type is processed right in your browser. Nothing is ever saved on a server, so your business details and your customer’s information stay completely private.
Your Top Questions, Answered
Even with a tool this straightforward, you probably have a few questions. I get it. When I first started creating receipts this way, I had the same ones. Let’s clear things up so you can get started with confidence.
Is This Really Free to Use?
Yes, 100% free. Seriously. You can create as many professional receipts as you need, customize them down to the last detail, and download them without ever being asked for a credit card.
There are no hidden subscriptions or surprise fees. You don’t even have to sign up. Just pull up the site and get to work. Whether you're making a simple Taxi Receipt Template on the fly or a detailed Hotel Receipt Template for a guest, it’s always ready to go at no cost.
Can I Put My Own Logo on the Receipt?
Of course! Adding your logo is one of the most important steps to making a receipt look truly professional and yours. You’ll find an "Upload Logo" button right in the editor.
This small touch does more than just look good—it reinforces your brand and builds trust with your customers. It turns a standard transaction record into a document that says, "We're a legitimate business."
What Happens to My Business and Customer Information?
This is a big one, and the answer is simple: your privacy is completely protected. All the information you type—your business details, your customer's name, the items sold—stays right on your computer.
Nothing you enter is ever sent to a server or stored anywhere online. The moment you close the browser tab, it’s all gone.
This local-only approach means you can create any receipt, from a basic Generic Receipt Template to one with sensitive client details, without a second thought about data security. It's all under your control.
What File Formats Are Available for Download?
Your finished receipt downloads as a clean, high-quality PDF file. This is the gold standard for documents because it’s so versatile and looks professional everywhere.
You can use the PDF to:
- Email it straight to your client.
- Save it to your computer or cloud drive for your own records.
- Print a hard copy for in-person sales or physical files.
A PDF ensures that what you see on the screen is exactly what your customer sees, whether they view it on their phone or print it out.
Ready to make a perfect receipt in a couple of minutes? With ReceiptMake, you get access to over 100 templates you can customize and download as a polished PDF for free. Start making your receipt now at ReceiptMake.

